How to rate photos in iPhotos
Photos for mac (which I will be calling iPhotos to avoid confustion) is a great application, but as my photo collection grows over time (especially now with kids), I’ve found that the binary scale of “favorite” or “not” is just not expressive enough. I want something more analogous to a “five-star” rating system.
Luckily, through the combination of keywords and smart albums, this is possible. iPhotos does not make this nearly as simple as marking a photo as a “favorite”, but it’s not terribly hard either.
1. Keywords
iPhotos has the ability to tag photos with keywords. We will tag each photo with a keyword that corresponds to the “number of stars” or “rating” that we wish to give that photo.
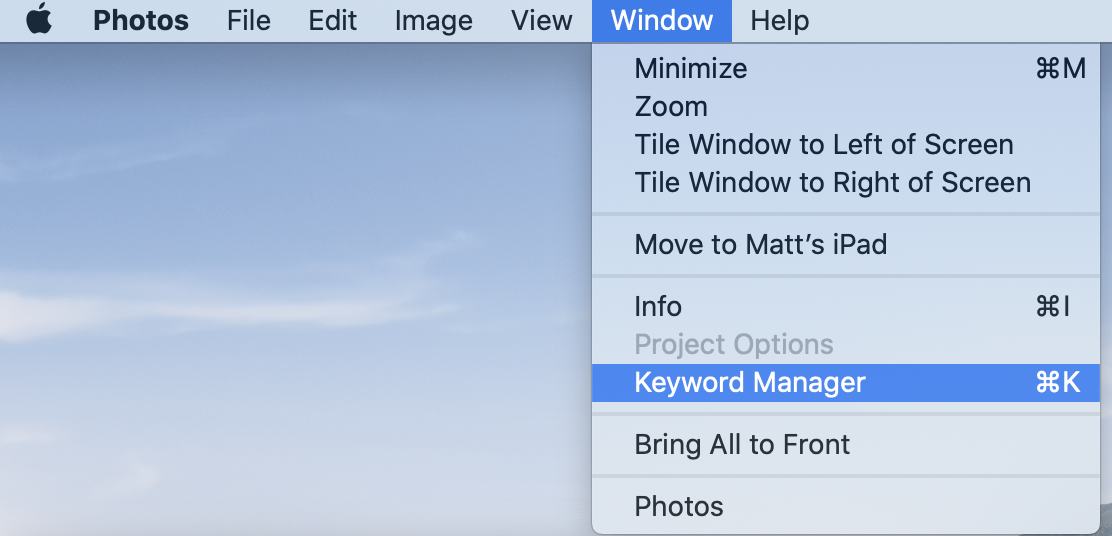
You access the keyword manager via ⌘K or via Window -> Keyword Manager:
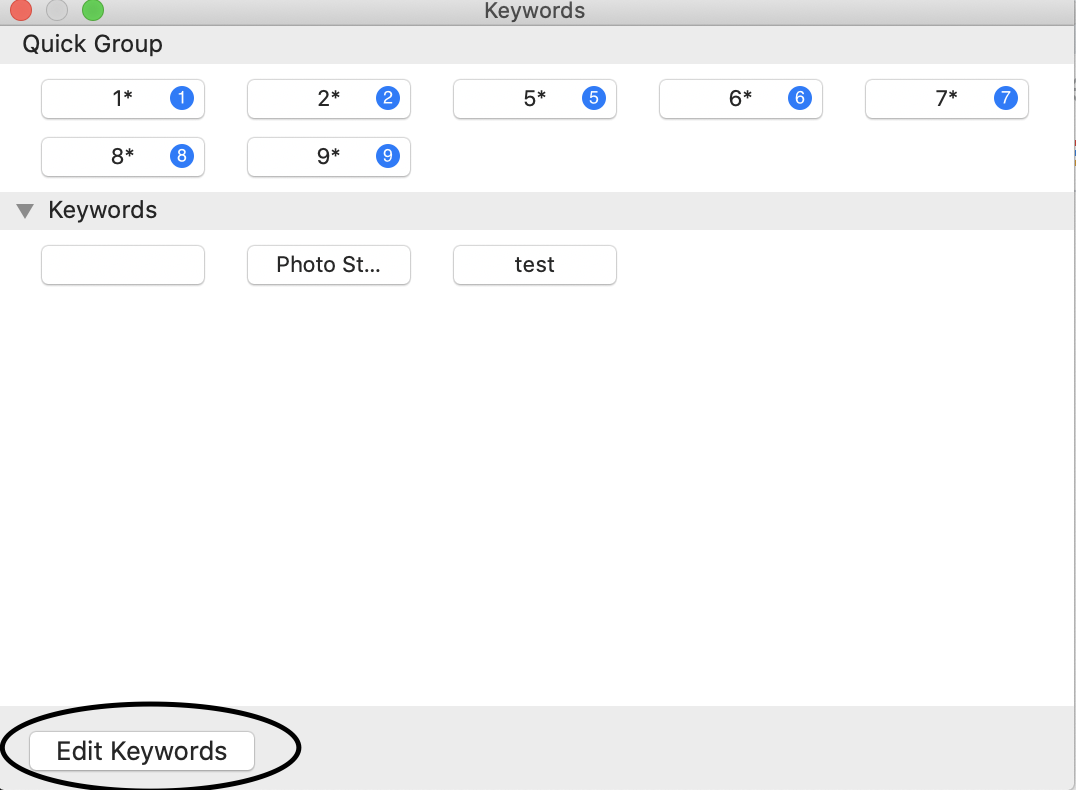
To add a keyword, click Edit Keywords:
Then click + and add give the new keyword a name.
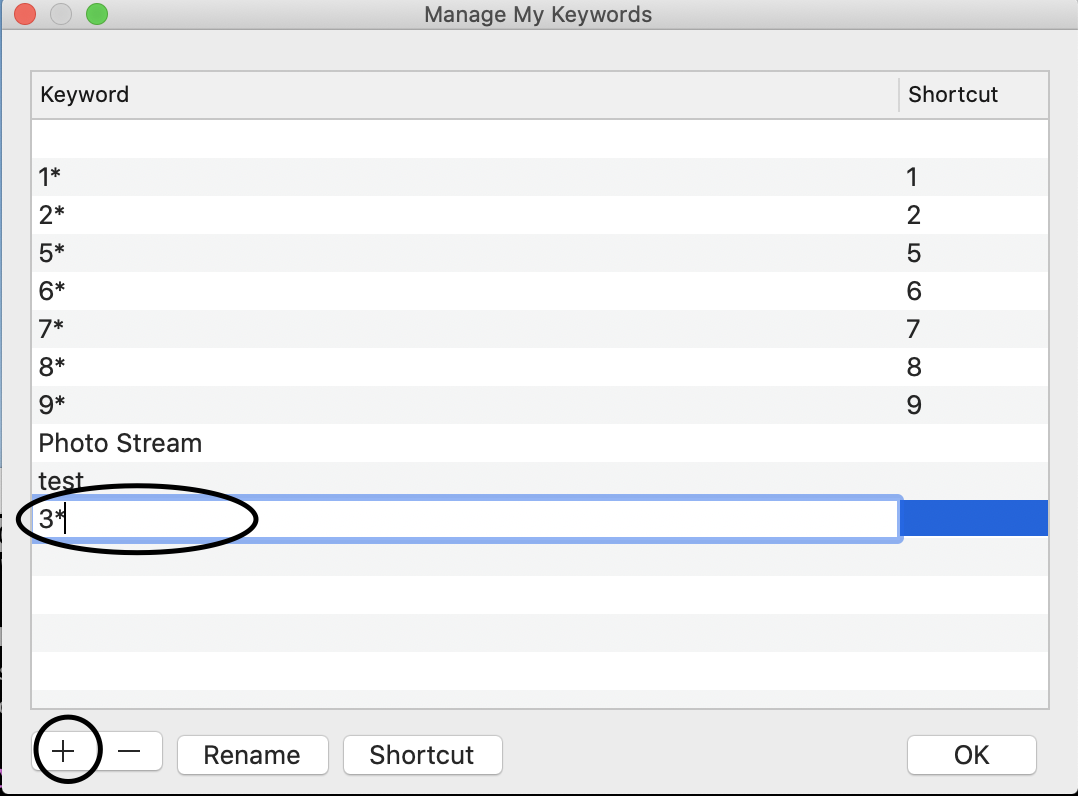
I made 10 keywords, one for each rating from 1-10. I added a * at
the end of each keyword so that 3* reads like 3 stars to me, but
that’s not important.
After you’re done, hit Ok which will take you back to the keyword
manager. At this point, you want to drag all your keywords that
correspond to ratings into the Quick Group section so that each
keywords gets a keyboard shortcut.
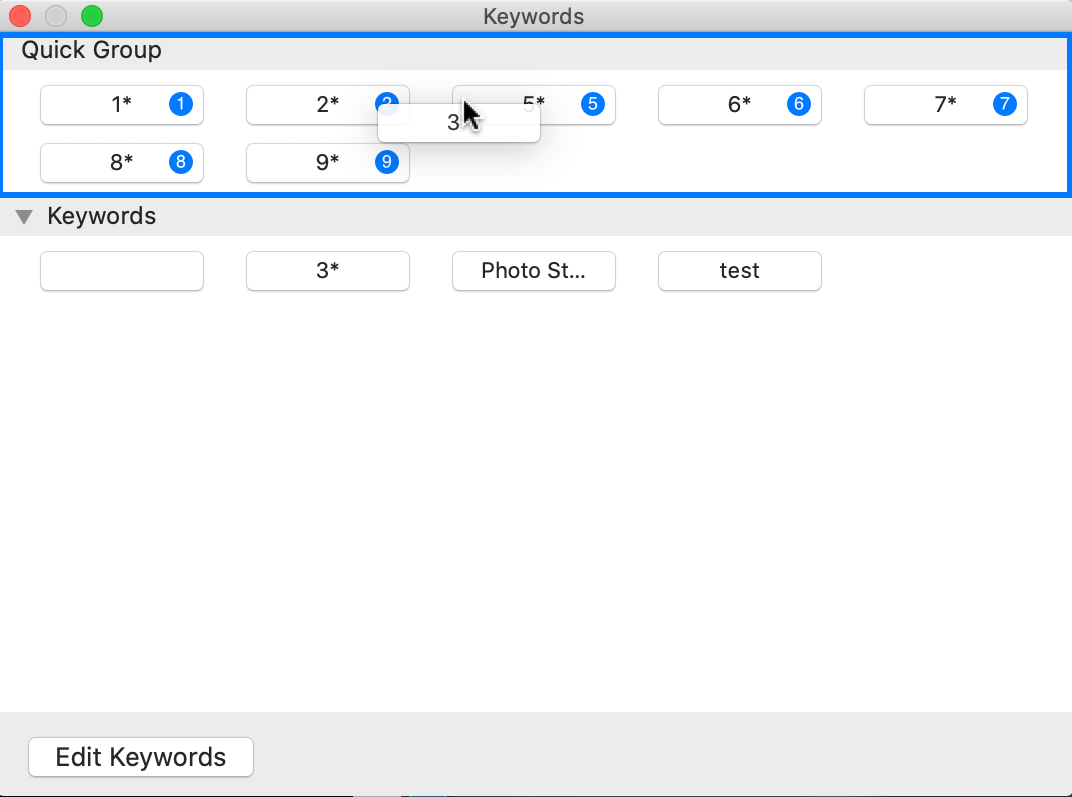
Since I started each rating with a number from 1-10, my keyboard
shortcuts (seen in the blue circle to the right of each keyword) were
automatically the corresponding number, which is what I want. If that
doesn’t happen automatically for you, you can edit the shortcuts
corresponding to each keyword by hitting Edit Keywords and modifying
the shortcuts manually.
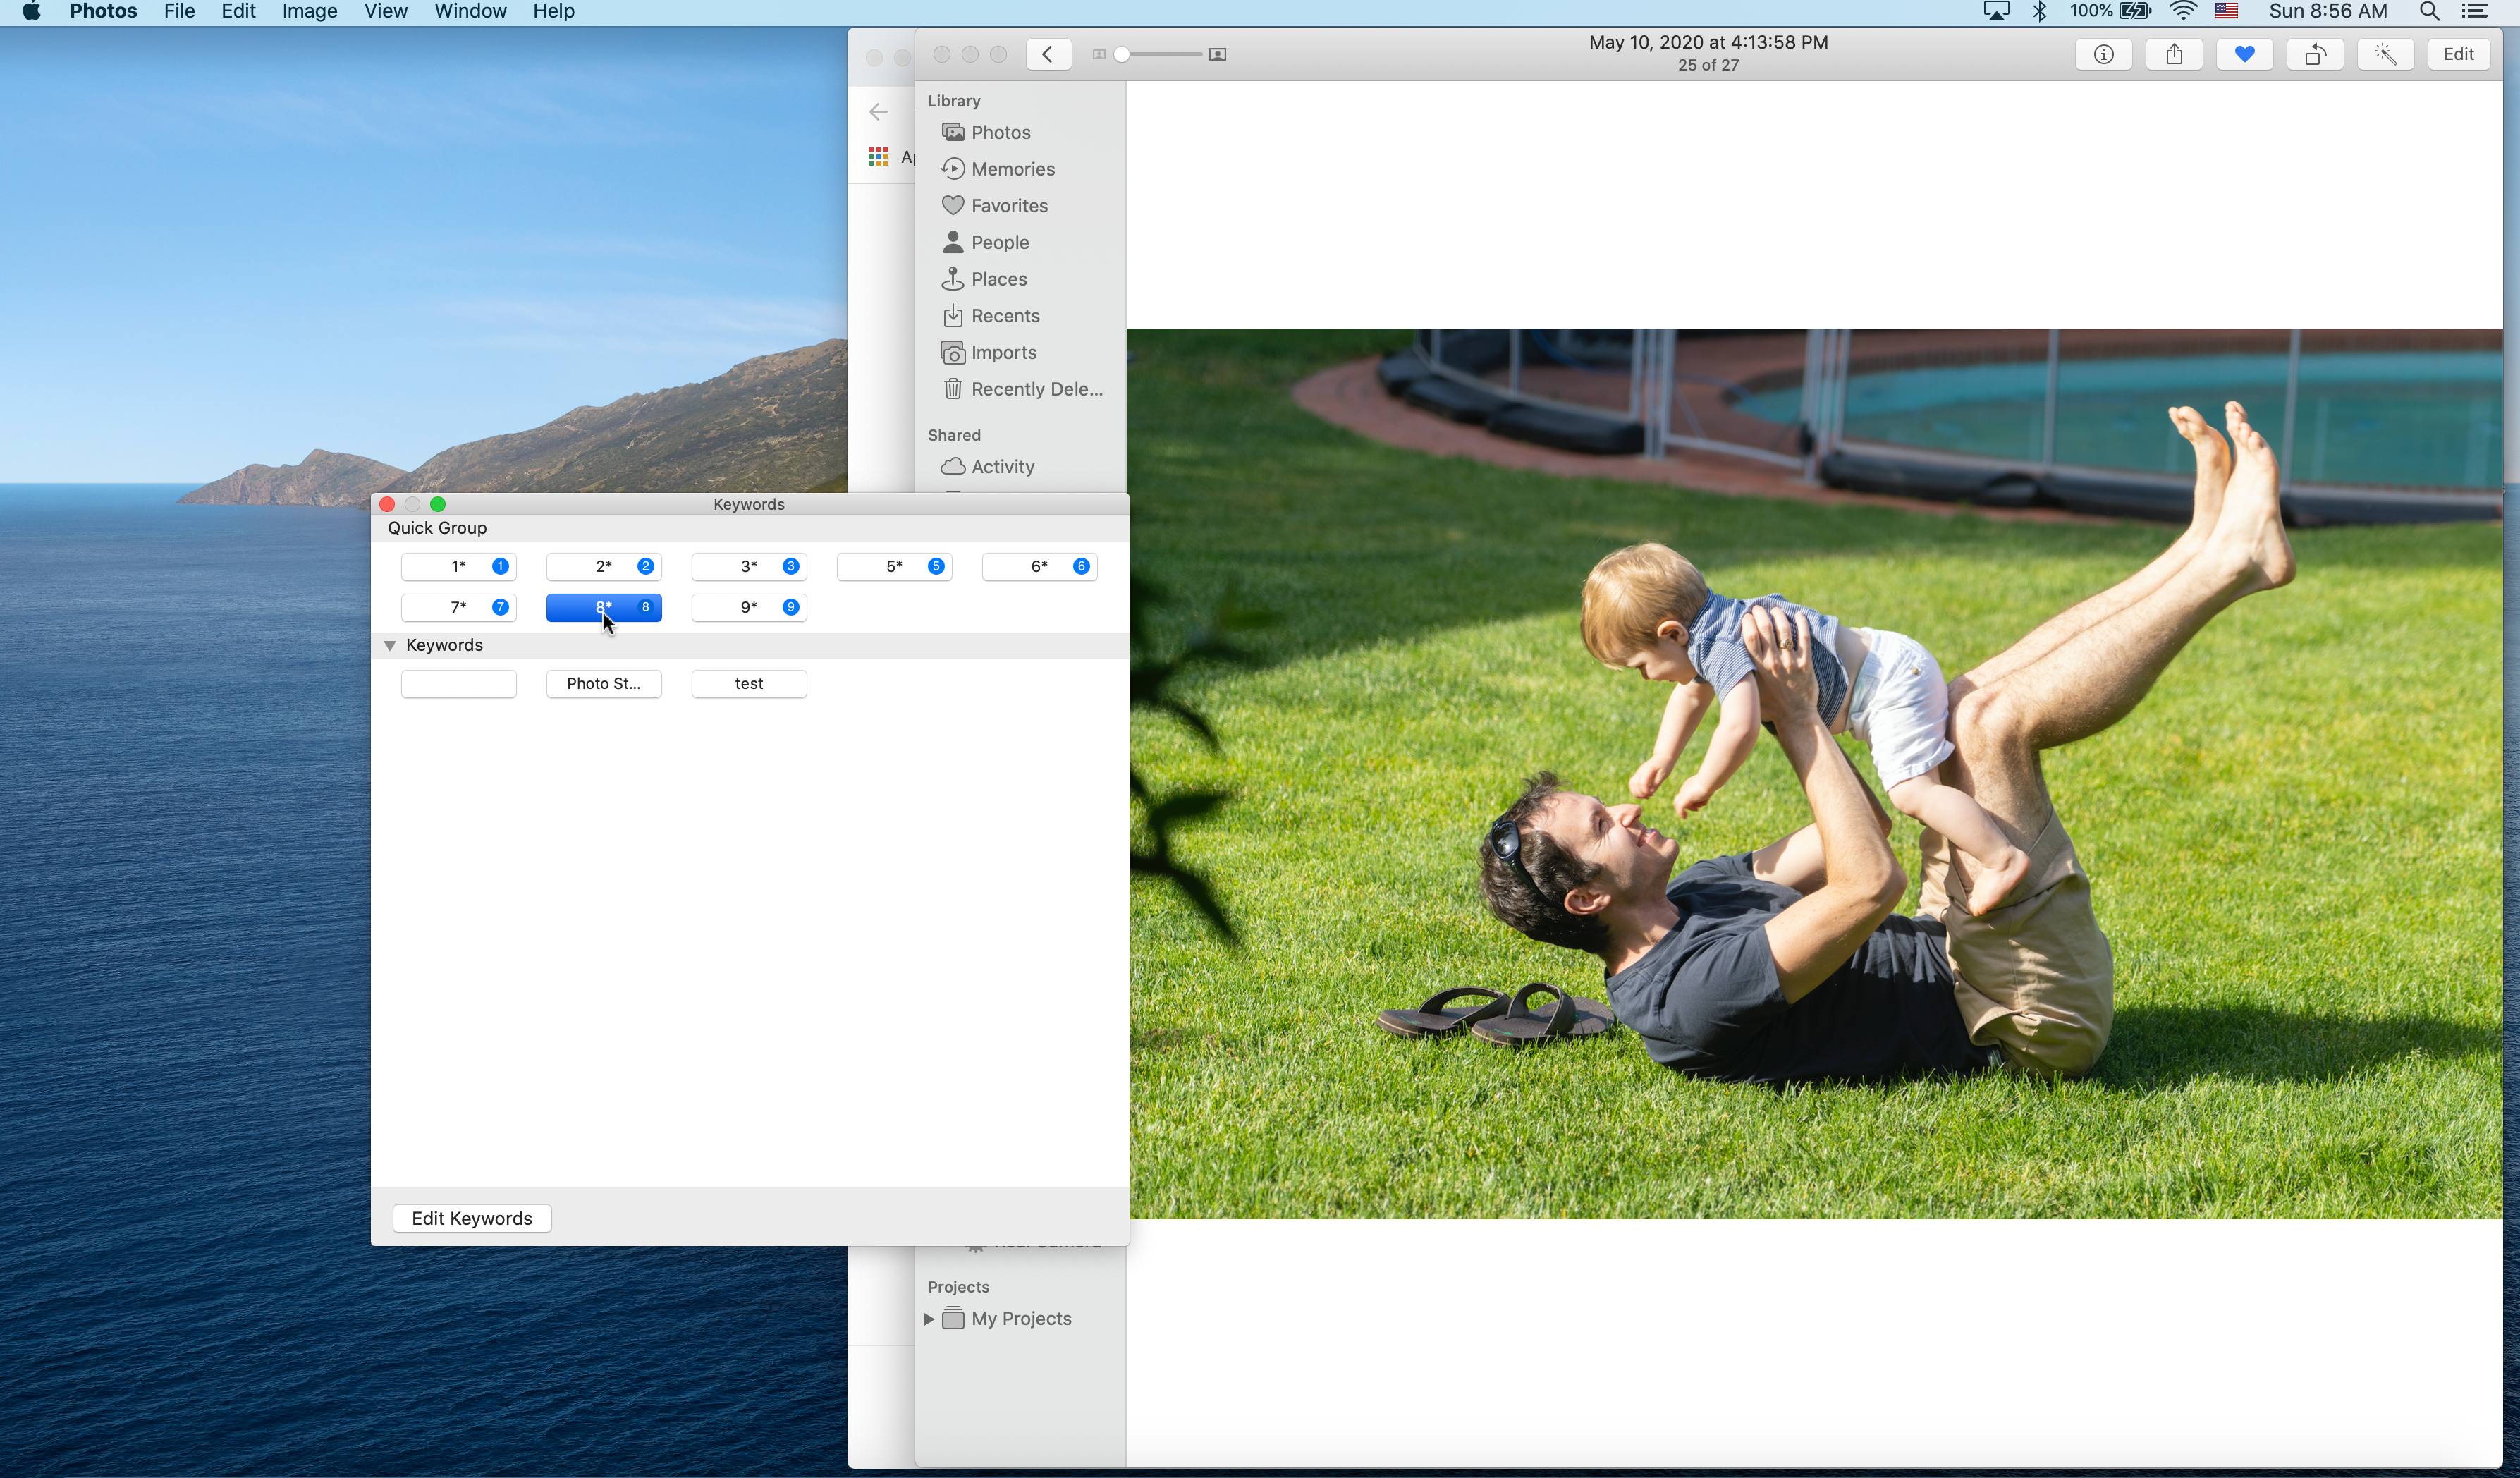
Now, how do you actually tag a photo with a keyword? It’s pretty
simple; have the keyword manager up when you’re looking at a photo and
type the corresponding keyboard shortcut or click on the keyword from
the keyword manager. In the following screenshot, I’ve tagged the
photo with the keyword 8*.
2. Smart albums
Smart albums are similar to other photo albums, except that instead of you populating the album with photos by manually dragging photos into them, you can write down a set of filters and the album is automatically populated by all photos that match those filters.
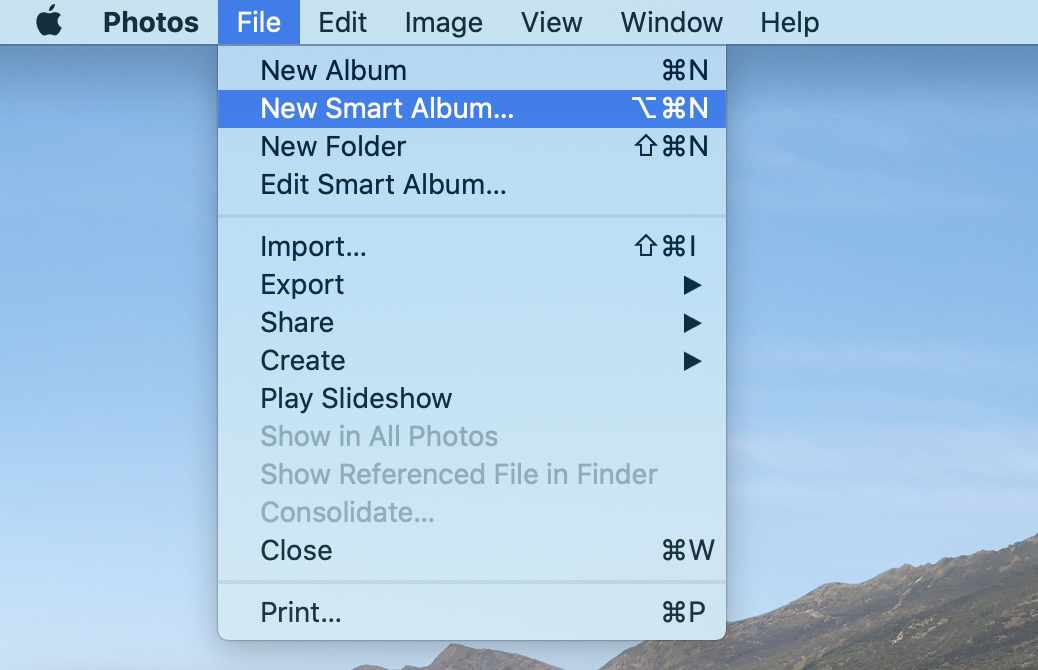
Creating a smart album is easy, just select it from the File menu.
Now, I’m going to make a 5+ album, meaning all photos that have at
least five stars. Here’s the sad part of the story. iPhotos doesn’t
realize that these keywords correspond to numeric ratings, so there’s
no easy way to express “>= 5 stars”. Instead, you have to do the
following:
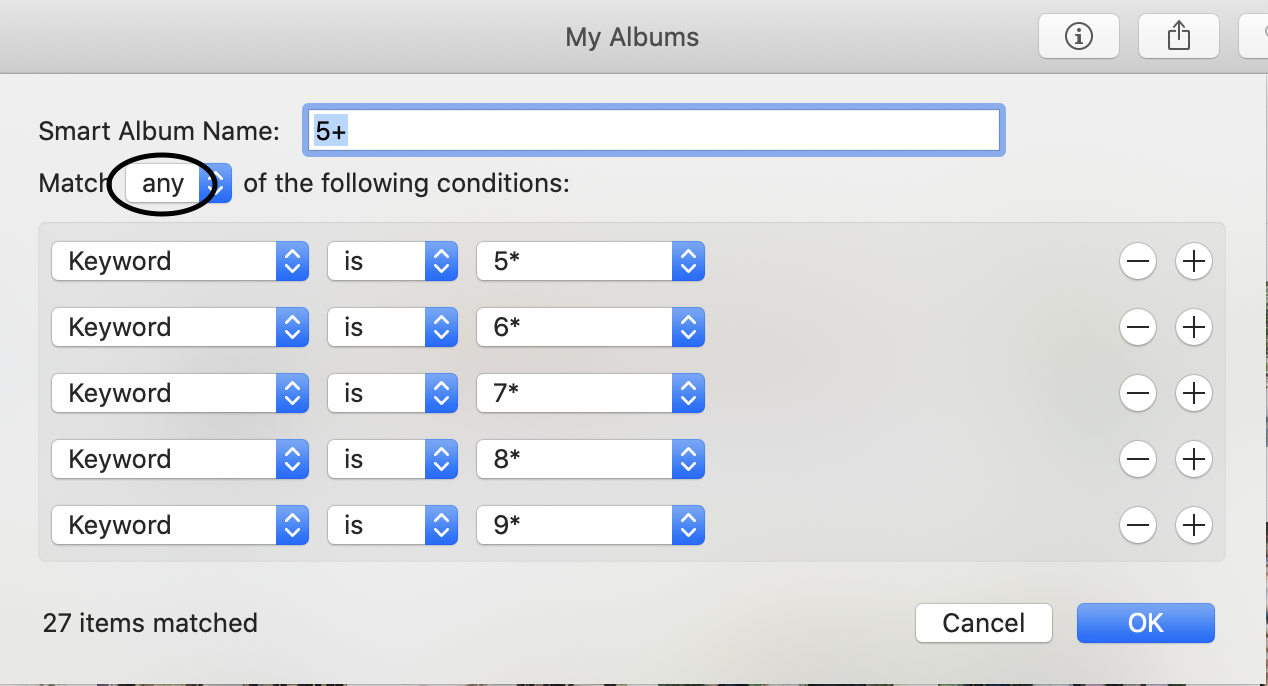
Note: I’ve set my album to match any (not all) filters, which is not the default setting.
And that’s it! You now have an album which will contain all photos with a rating of 5 or more stars (and it will update as you rate pictures in the future).
3. Setting up a “To Rate” Album
I have one last tip for you. This isn’t necessary to make your rating system work, it’s just that I’ve found it useful.
I wanted a way to see the photos that I haven’t yet rated in one place. That way, from time to time, I could go there and rate all my recent photos. Now, rating every single photo is a bit too time consuming, so I limited it to pictures taken with a “real camera”, by which I mean not an iPhone or iPad.
Setting this up was (a bit tedious, but) easy. It’s just another smart album, and here’s the configuration:
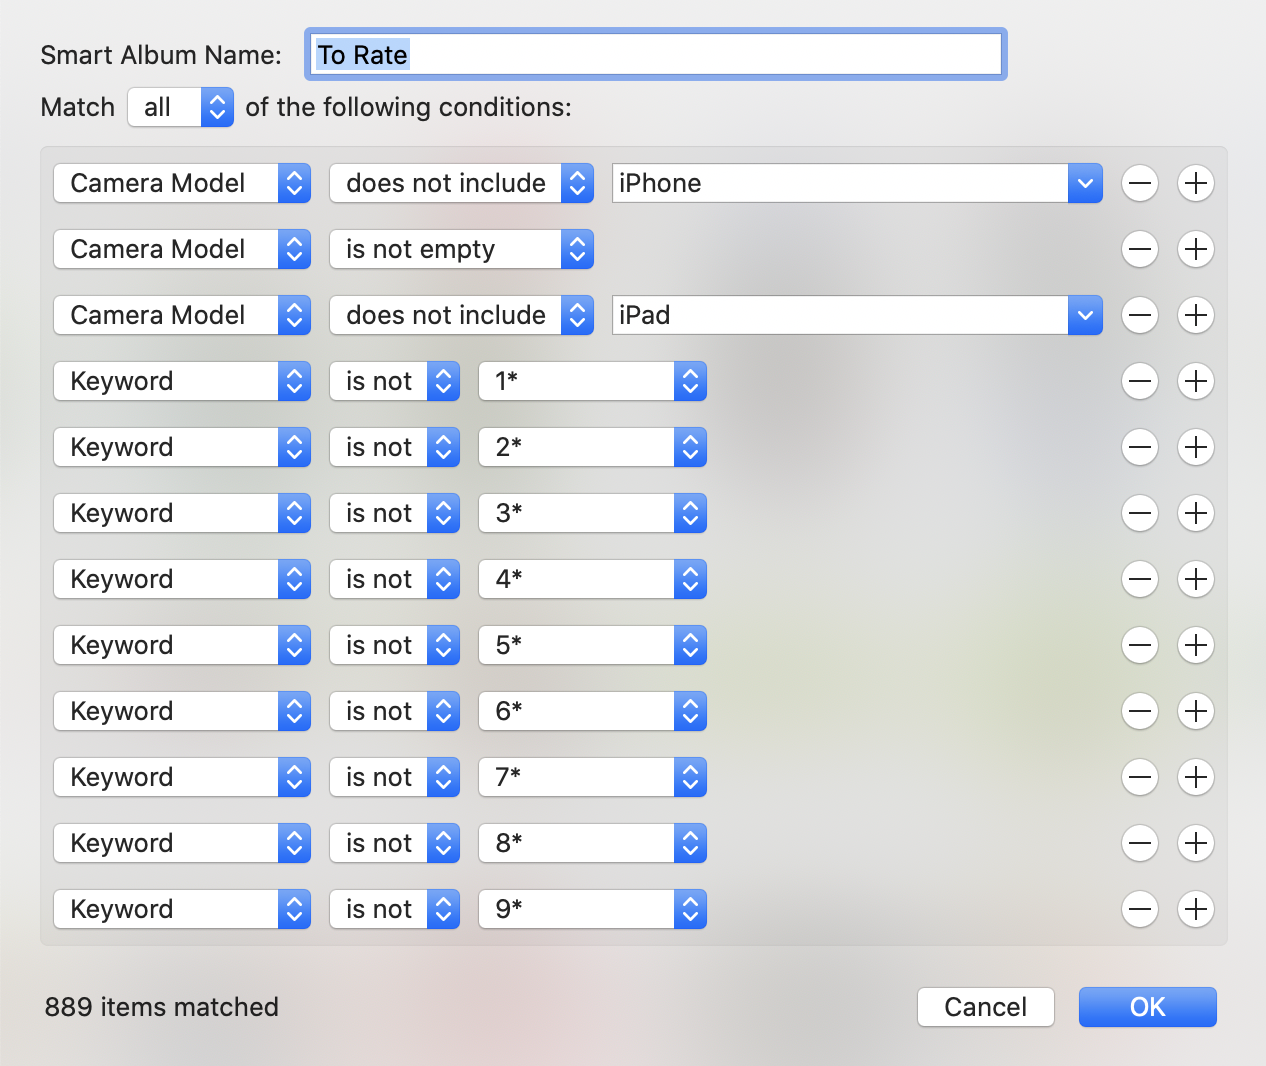
This way, all the pictures taken that match all these filters (taken by a real camera and does not already have a rating) will be in my “To Rate” album.
Hope this helps!